How to Create a Contour Highlight

What Is Contouring?
Essentially, when you contour, you’re using shading or shadows to create the illusion of recession. Use contouring to help define or reshape your facial features. The areas that are not darkened or shaded then stand out! This can make your cheekbones look more pronounced, your nose more narrow, or even help you reduce the appearance of your soft underchin. You’ll instantly transform into a more sculpted Adonis.
What is highlighted?
When you use the technique of highlighting, you’re doing the opposite of contouring. The areas that have this lighter shade or shimmer will be accentuated and more pronounced. By applying a highlighter or using a strobing effect, you can help emphasize the areas of your face that naturally catch the light.
Contouring and Highlighting in 5 Easy Steps
STEP 1: Select Foundation
Select your usual foundation shade and apply it as you normally would. Don’t forget to set yourself up for success by starting with a Mattifying Primer or Luminous Primer.
STEP 2: Shade Key Areas
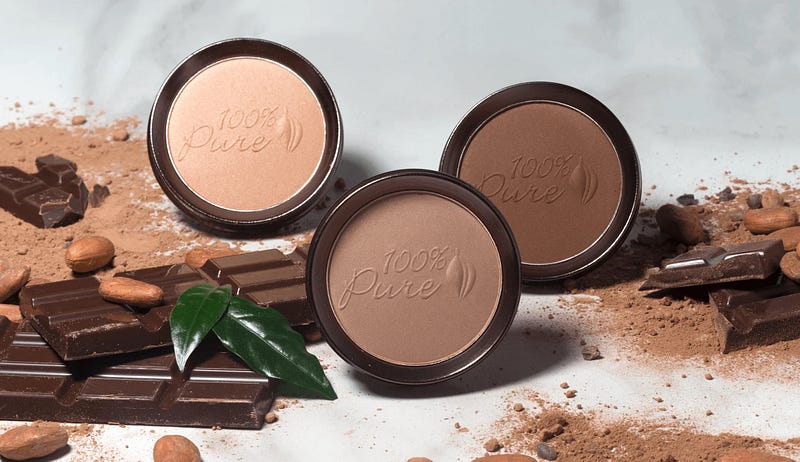
Choose a Foundation that is a few shades darker than your skin tone or use a Cocoa Pigmented Bronzer. Use the darker foundation shade (or bronzer) and apply it with our Cruelty-Free Angled Contour Brush F30 to the areas that you’d like to contour, such as the hollows of your cheeks, temples, hairline, jawline, or nose. The Cruelty-Free Crease Brush E40 will help you apply the bronzer in a controlled technique to smaller areas, such as the sides of your nose or hairline.
STEP 3: Blend It Out
Start with a lighter application at first. You can always add more to build the intensity. It’s much harder to take away than to add on! Make sure to blend, blend, blend so there are no hard visible lines.
STEP 4: Highlight
Select a foundation shade that is 1-2 shades lighter than you would normally wear, or use a highlighter.
STEP 5: Brighten Key Areas
Apply the highlighter or lighter foundation shade to the areas that would naturally catch light. This is generally the tops of your cheekbones, brow bones, and bridge of your nose, forehead, and chin using our Cruelty-Free Angled Contour Brush F30. Layer on a small amount of highlighter to the cheeks, and nose with our Cruelty-Free Small Stippling Brush F10.
By following the five easy steps outlined in this guide, you can create a flawless contour highlight that enhances your natural features and adds dimension to your face. Remember, practice makes perfect, so don’t be afraid to experiment with different techniques and products to find what works best for you. With patience and perseverance, you’ll soon be contouring and highlighting like a pro, ready to face any occasion with confidence and style.


Comments
Post a Comment